I wanted to help with the environment modelling for the vertical slice and so I had benedict teach me how to correctly make the model to scale in blender ready to be placed into Unity. Keeping the model to scale will help with the textures in unity and ensure they are all the same texil density. It will also prevent textures from stretching.
Benedict showed me the process of how he created the taller cliff asset. Here is a brief bulletpoint list of how to create this.
- Start by creating a cylinder and adjusting the size. Save as a .blend file
- Import the .blend into unity and see if the sizing is correct. If the size is off, adjust it in blender, save, and return to unity to check that it is correct.
- Once you have a size you are happy with, extrude the model upwards to the correct height (you can use the same method to check the height too).
- Loop cut and bevel to create indents into the rock.
- Shade smooth the model
- Cut the seams for the textures, ensuring that areas are as flat as possible where you cut the seam.
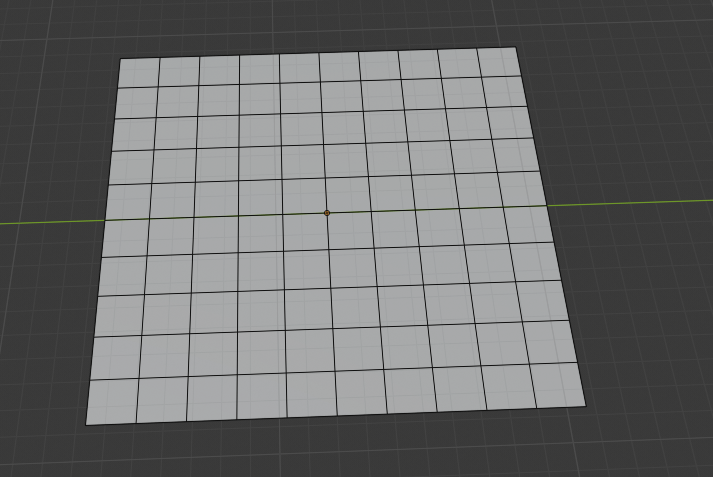
I started using the cylinder method and I really struggled to get the lighting looking correct because of the top connecting in the middle. I just couldn’t get the shape I wanted for the slightly smaller cliff, so I began making it from a subdivided plane instead.
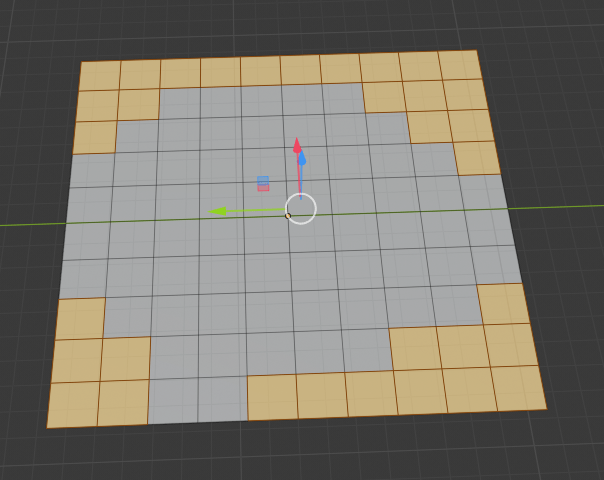
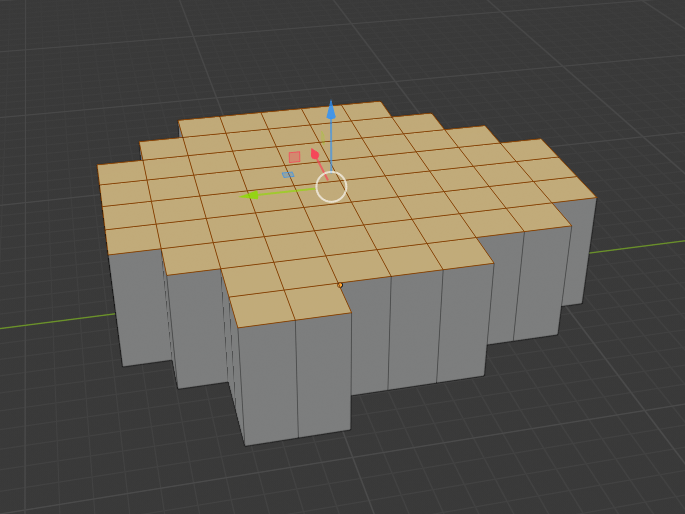
While using this method I realised that I was creating some quite sharp edges and potentially causing some lighting/N-gon issues because of the sharp angles.
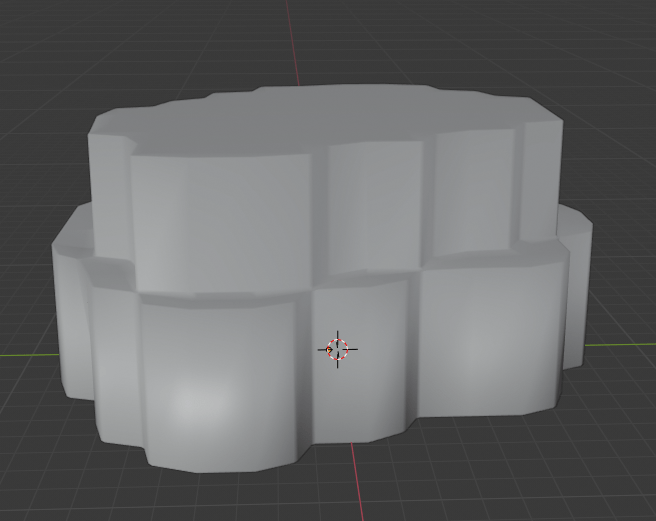
When the bevel modifier was added this showed that the edges were too harsh and the bevel modifier did create lighting issues.
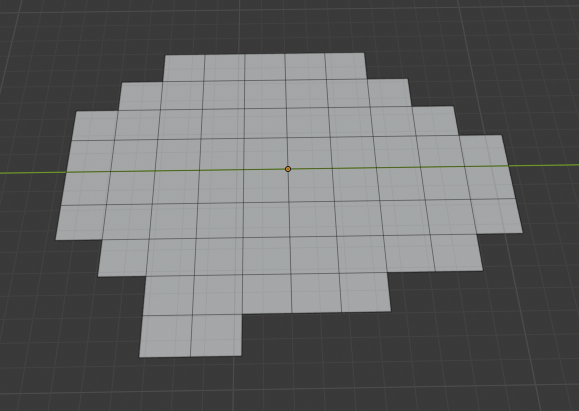
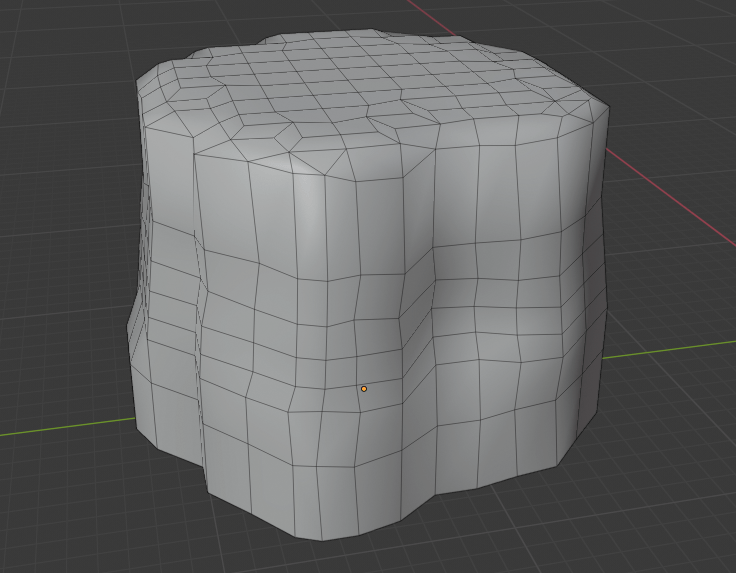
So I started with the same process again, however this time I made sure to smooth out the plane edges by creating some tri’s to join corners. This created a much better low poly smooth look.
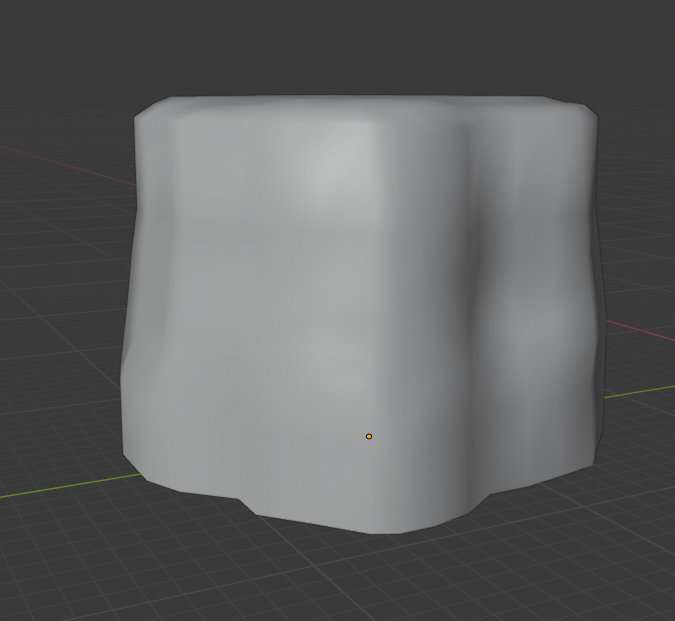
Overall I was happy with the first cliff I had made, but I wanted to add some more variation to the second one.
For the second cliff I decided to record a time lapse to show the process clearly. I made sure to ad more variation to the cliff this time by adding a slightly bulging part to the top side of the cliff, keeping the bottom smaller, making it look like the cliff has been erroded over time by water.